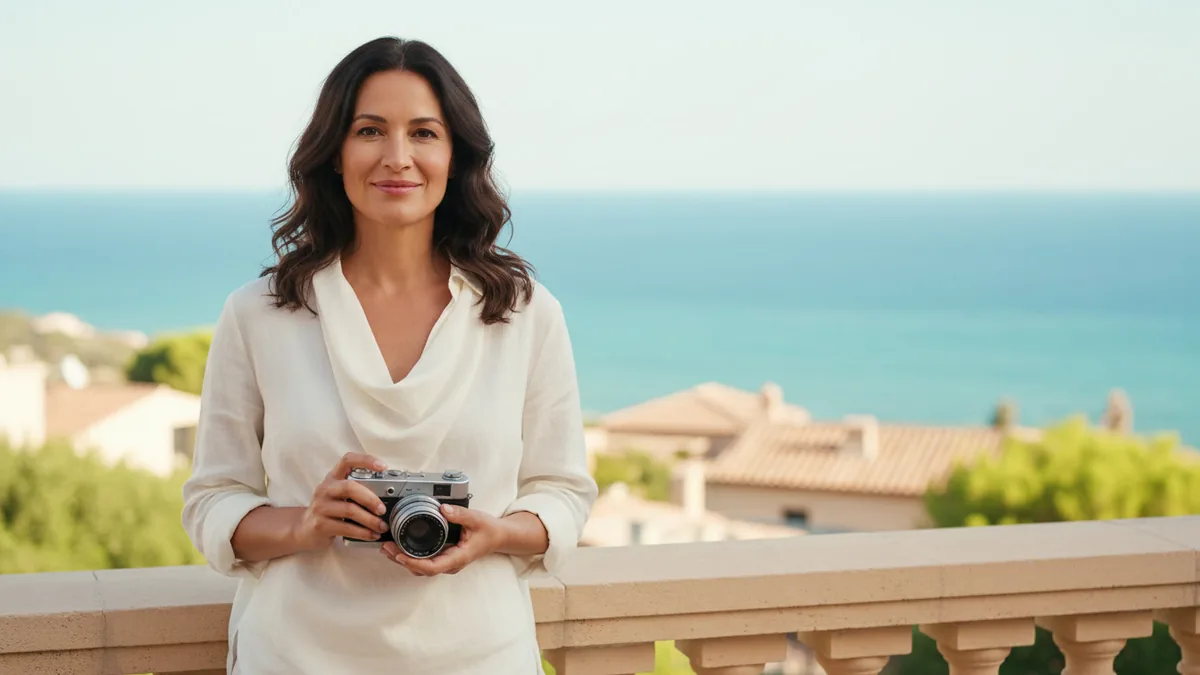
The AI Photo Enhancer is designed for a useful middle ground between leaving a photo untouched and asking for a complete redesign. It takes exactly one image and applies a focused direction for exposure, color, noise, and clarity. That makes it suitable for a portfolio draft, a product listing, a presentation, or a personal archive when the source already has the right subject and composition.
These directions are editable starting points, not tested outputs. A generative edit can change small details, so treat the result as a new version to inspect rather than a pixel-perfect restoration.
1. Start with a photo you can use
Choose one image that you have permission to edit and share. A visible subject, a reasonably clear composition, and light that is not completely lost give the workflow more useful information. Avoid adding several unrelated goals at once. If the real problem is a dark face, begin with a lighting direction. If the image is too warm, begin with color. Keeping the first request narrow makes the result easier to judge.
The template starts with: “balanced exposure; gentle color correction; retain subject and composition; natural texture.” You can keep that direction or replace one part. For example, “slightly lift the shadows, keep the original framing, and retain natural skin and fabric texture” describes a modest change without promising recovery of detail that was never captured.
2. Let the model guide the photo, not define the facts
The workflow starts with one uploaded image and Nano Banana 2 for image-to-image generation; other compatible image models may be available. The input guides the subject and composition, but it does not guarantee exact identity, unchanged text, or identical edges. Check faces, hands, labels, reflections, fine texture, and background boundaries after each version. If a recognizable feature matters, compare it with the source before publishing.
The tool is not a dedicated resolution promise or a substitute for a non-generative restoration process. It may make a photo feel cleaner or more balanced, while still changing details. If the first result is too strong, simplify the instruction and change one variable at a time. For a larger scene change, use the AI Photo Editor and state the requested background, style, color, or product-image edit directly.
3. Check the live quote before you submit
The exact credit quote appears beside Generate for the current model and settings. Read that quote before submitting and review the result after the job completes. The uploaded image and generated result remain subject to the site’s current content checks and user policy. A blocked request or result follows the current service handling, so do not treat a successful preview as a policy exception.
If you need help writing a concise direction, use the Prompt Generator to structure the subject, desired change, and details to preserve. The Image to Image workflow is another entry point for a less specialized transformation. Browse Prompts for editable ideas and Tools when the photo needs a different kind of work.
4. Review the image as an editor
Compare the source and result at the same size. Look for an unwanted crop, invented texture, changed product markings, or a face that no longer matches the intended subject. Keep the version that serves the job, and label a generative edit appropriately when another person could mistake it for an untouched photograph.