The AI Photo Editor is for a specific change to one existing image: a new background, a visual style, a color direction, or a product-image adjustment. It works best when the request has one clear priority. Describe the change and the parts of the subject or product that should remain recognizable, then inspect the complete result before you download or publish it.
These directions are editable starting points, not tested outputs. The workflow is generative, so a request about one area can still affect text, edges, reflections, faces, or product shape elsewhere in the frame.
1. Name the source and the requested change
Upload one image that you have permission to edit. Then write the requested change in plain language. “Replace the busy background with a warm ivory studio, use soft daylight, and preserve the product silhouette” gives the model a clear scene and a clear priority. For a color edit, name the object and the intended range. For a style edit, describe the visual treatment without stacking several incompatible references.
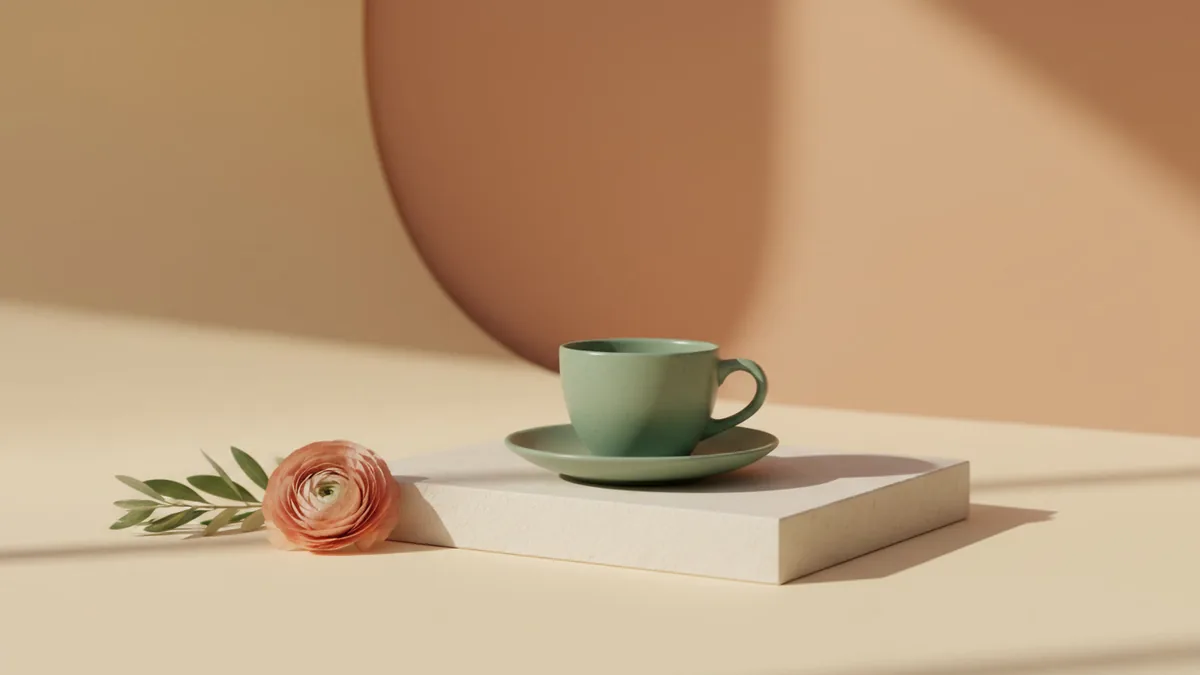
The template begins with “replace backdrop with warm ivory studio; soft daylight; preserve subject.” Keep it when it matches the job, or replace it with a more precise instruction. A product listing might ask for “a quiet pale-gray background, even soft light, and the original bottle shape and label placement.” A portrait brief might ask for “a simple editorial backdrop, soft side light, and the person’s overall pose retained.” The examples show how to state intent; they do not guarantee a specific output.
2. Keep one edit easy to review
The workflow starts with Nano Banana 2 image-to-image and one input; other compatible image models may be available. It does not provide brush, inpaint, or mask controls. That makes the wording and the review step especially important. If the prompt asks for a new background, a new color system, a wardrobe change, and a new camera angle at once, you may not know which instruction caused an unwanted result. Start with the most useful change and make another version for a second direction.
Review the entire image after generation. Check the requested background or style, then check faces, hands, labels, logos, typography, shadows, reflections, edges, and product proportions. The model may change a detail you asked it to preserve. If the image is for a shop, compare the result with the real product before publishing. If it is for a profile or campaign, confirm that the subject still represents the intended person.
3. Read the current quote and policy state
The current exact credit quote appears beside Generate before you submit. The uploaded image and generated result remain covered by the site’s content checks and user policy, including NSFW restrictions. Review the quote and the final image rather than relying on an old screenshot or an earlier result.
For a general enhancement, open the AI Photo Enhancer. Use the Prompt Generator when you need help turning a visual goal into a short structure, or open Image to Image for a broader reference-led workflow. The Prompts and Tools pages can help you choose the next step.
4. Keep the final decision human
An AI edit is useful when it reduces a specific visual problem, but it is still a generated version. Save the source, compare the two files, and disclose the edit when context could make the result seem like an untouched photograph. That small review protects the meaning of the image as well as its appearance.